Marque & Reprisal Ships Tier List — Roles for 1522
Galleys, caravels, carracks, and warships ranked for trade, combat, exploration, and rivers.
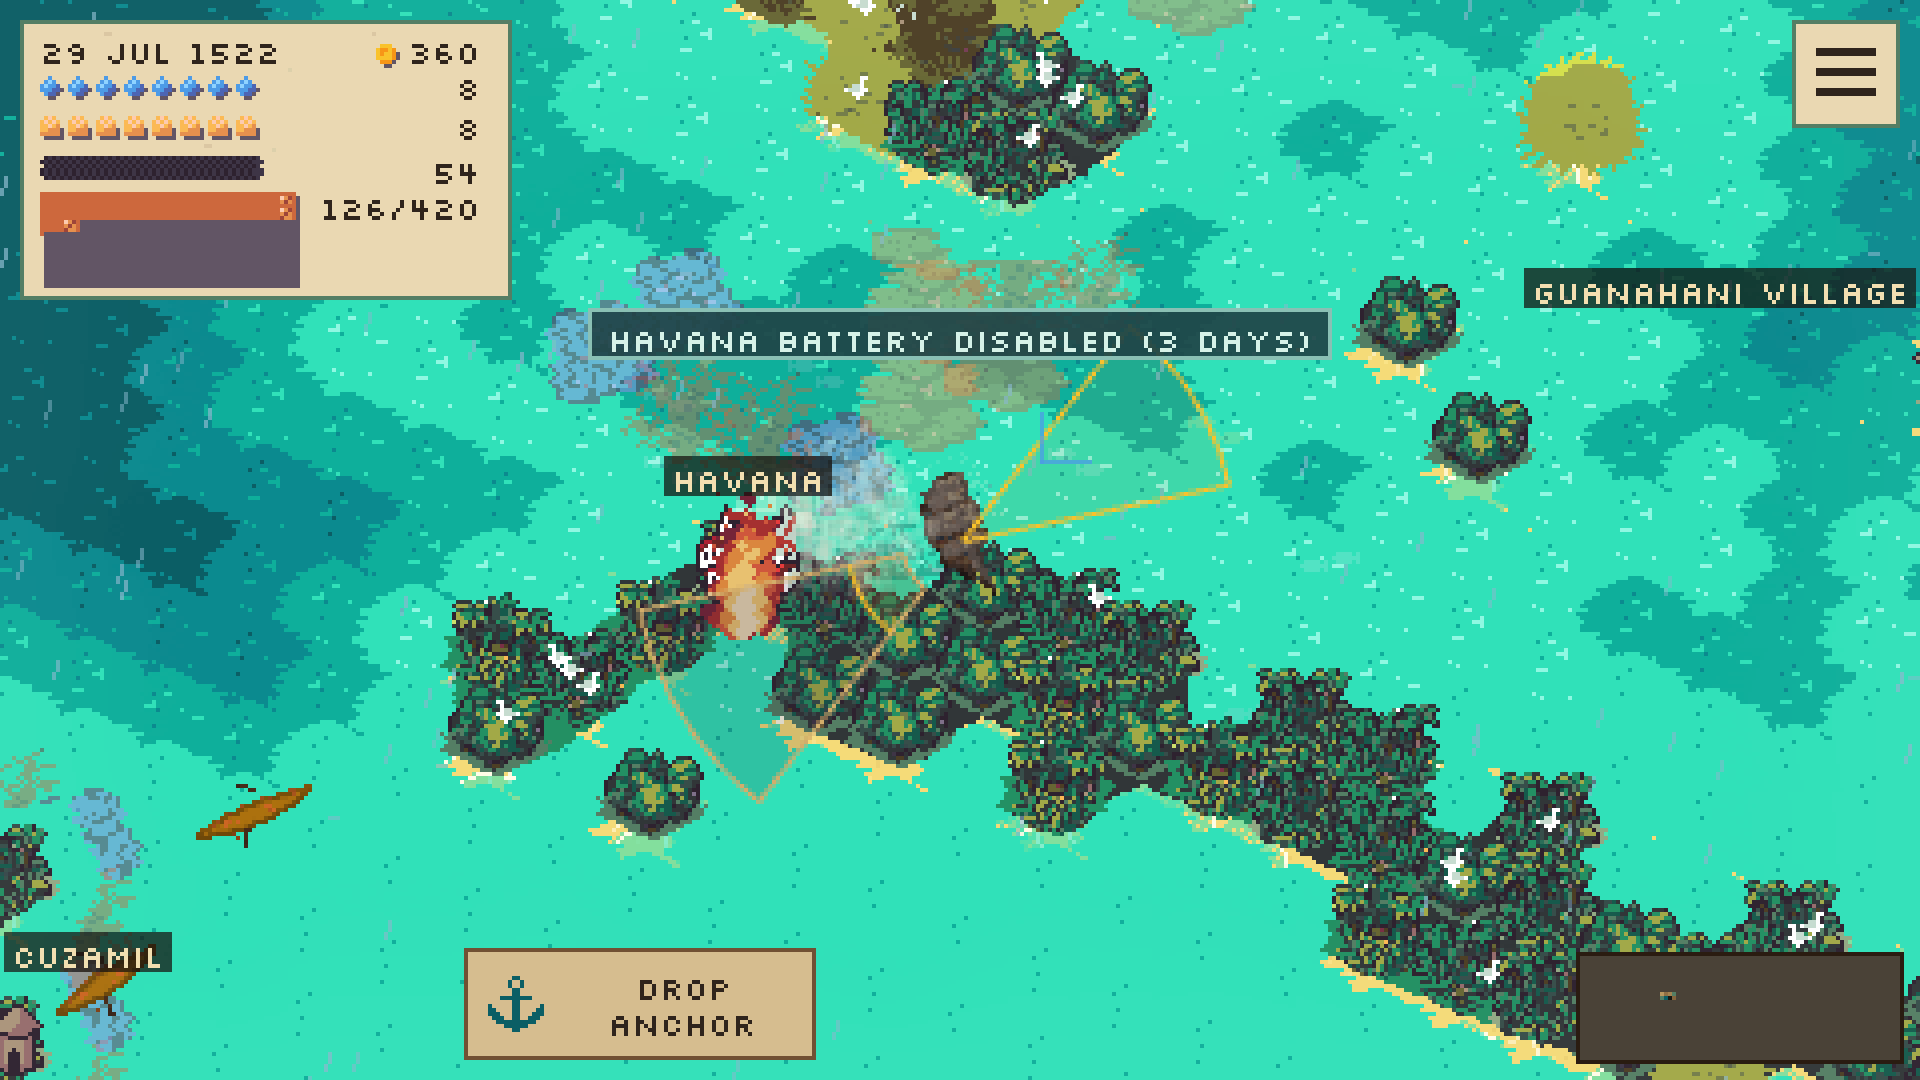
Marque & Reprisal is an Age-of-Sail sandbox: one captain, one life, and a hull that has to match the job. This Ships Tier List ranks the core vessel families—galleys, caravels, carracks, and warships—across four roles. Treat tiers as voyage advice, not absolute power levels. A galley that owns the Mediterranean can starve on an Atlantic crossing; a bombardment warship that silences Havana’s batteries can be misery in a shallow river.
Use this page with the Tier List Hub, Getting Started, and Sailing Controls. When you are ready to fight or take a port, read Combat and Piracy before you buy the flashiest guns.
Ranking rules
- S — Best-in-role for most captains once you can crew and provision it.
- A — Excellent with a clear plan; small weaknesses you can play around.
- B — Solid workhorse or specialist; not first pick for every theatre.
- C — Situational or training wheels; fine early, swap when the voyage grows.
Patches can raise hull strength, change collision self-damage, or add escorts and allied bombardment. Recheck after Launch Notes and the broader Updates Hub.
Quick overview by hull family
Galleys (oars + sail)
Mediterranean workhorses. Oars let you crawl upwind, hold station, and push through calm or awkward river mouths. Strong for coastal combat, boarding angles, and demo waters. Weaker on long open-ocean cargo runs where bunks, stores, and sail economy matter more than rowing stamina. Docking rest restores rowing stamina—use shore leave deliberately.
Caravels
Lean exploration hulls. They reward captains who chase discovery, tight coastal surveying, and flexible headings when the wind shifts. Cargo is modest compared with carracks, so they shine when information and positioning beat bulk profit. Ideal bridge ships between a starter hull and a dedicated trader or warship.
Carracks
Ocean trade and colonist legs. Deeper holds support Trade Routes that move goods and specie between distant markets. Heavier and less nimble than caravels; they ask for better weather reading and longer provisioning. Excellent when your run is about margins, passengers, and surviving the crossing—not duelling every sail on the horizon.
Warships (bombardment line)
Built to silence shore batteries and cover marine landings in the auto-battler assault that follows. Also the natural pick for hunting hostile captains and protecting rich cargo. Expensive to crew and feed. Overkill for peaceful fishing circuits—pair with Fishing and Whaling only if you expect contested grounds.
Role tiers
Trade
| Tier | Hull | Why |
|---|---|---|
| S | Carrack | Best cargo-to-risk for multi-port profit loops and colonist work. |
| A | Caravel | Fast repositioning between nearby markets; smaller holds. |
| B | Warship | Can escort its own freight but burns wages and stores. |
| C | Galley | Fine for short Mediterranean hops; poor deep-ocean bulk. |
Focus on ledger discipline: buy low, sell high, watch supply react to you and NPC traffic. Trading straight from the Prices table is excellent for one-unit tests; use the full market for bulk. See Trade Routes for route patterns.
Combat and pillaging
| Tier | Hull | Why |
|---|---|---|
| S | Warship | Bombardment weight plus marine landing support. |
| A | Galley | Oared positioning, ramming angles, coastal duels. |
| B | Carrack | Survives scrapes while hauling prize cargo. |
| C | Caravel | Skirmish and flee; not a siege platform. |
Port taking is a two-step: bombard until batteries quiet, then send marines. Allied warships can help silence guns if you hold a commission—confirm escort and bombardment offers when you hail friendlies. Hostile hulls show clearer outlines after recent patches; use that read before you commit.
Exploration
| Tier | Hull | Why |
|---|---|---|
| S | Caravel | Agile surveying, forgiving when you misjudge a tack. |
| A | Galley | Rivers, lakes, and adverse wind in mapped waters. |
| B | Carrack | Long legs once charts and stores are solid. |
| C | Warship | Powerful but hungry; slow to justify on pure scouting. |
Exploration in Marque & Reprisal means reading weather, taking soundings, and deciding when a wonder or New World hop is worth the risk. Pair with Survival so curiosity does not become a thirsty death.
Rivers and upwind work
| Tier | Hull | Why |
|---|---|---|
| S | Galley | Oars beat irons; river geometry rewards controlled thrust. |
| A | Caravel | Manageable draft and handling in constrained water. |
| B | Carrack | Possible with patience; punish mistakes harder. |
| C | Heavy warship | Worst place to learn—high mass, high consequence. |
The sailing tutorial teaches river navigation with the same systems you use on a real voyage. Replay it from Options if river mouths still feel opaque. Shore hauling and careful docking matter as much as raw speed.
Suggested progression
- Demo / first hours — Learn oars and tacking on a galley or light sailer; follow Demo Tips.
- Early full map — Move into a caravel when you want wider scouting without over-crewing.
- Trade focus — Graduate to a carrack once you can fill holds without emptying the larder.
- Commission / pirate path — Take a warship when standing, crew quality, and stores support bombardment work.
- Ship exchanges — Use the safer swap flow: sell or discard excess cargo, dismiss surplus crew, review, then confirm.
Common mistakes
- Buying a warship before you can feed the crew.
- Taking a deep-ocean carrack into every river because “it has space.”
- Ignoring wind: sails give no forward force into the wind; galleys still crawl.
- Forgetting escorts—friendly armed captains can sail in company when standing allows.
- Skipping System Requirements checks if the world map stutters on older integrated GPUs.
Related pages
- Tier List Hub — hub overview and ranking philosophy.
- Guides Hub — full tutorial map.
- Combat and Piracy — boarding, batteries, and marine assaults.
- Trade Routes — markets and specie loops.
- Launch Notes — escorts, barter, captain redraw, Prices trading, sailing tutorial.
Keep one goal per stretch of ocean. The right hull for that goal is what this list is for—everything else is vanity that sinks with the captain.
Frequently Asked Questions
Quick answers for captains planning their next voyage.
What is the best overall ship in Marque & Reprisal?
There is no single best hull. Carracks lead trade, warships lead bombardment, galleys lead rivers and upwind work, and caravels lead agile exploration. Match the ship to the next voyage goal.
Are galleys good after leaving the Mediterranean demo?
Yes for rivers, coastal theatres, and beating into the wind. For long oceanic cargo runs, plan a swap toward carracks or another ocean-capable hull.
Do I need a warship to pillage ports?
You need enough bombardment weight to silence shore batteries before marines land. Dedicated warships are S-tier for that job; lighter hulls struggle against serious batteries.
How often should I change ships?
Change when your role changes or when crew, bunks, and cargo no longer fit. Use the reviewable exchange flow so you can sell cargo, dismiss crew, and back out safely.
Where should beginners start before caring about tiers?
Play the free demo, finish the sailing tutorial, then read Getting Started and Sailing Controls. Return here when you have specie and a clear next objective.